Elegant Psd Text Style Effect Mockup: What Most Users Get Wrong and How to Fix It
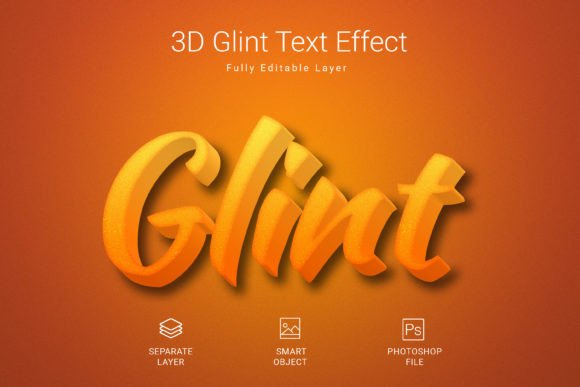
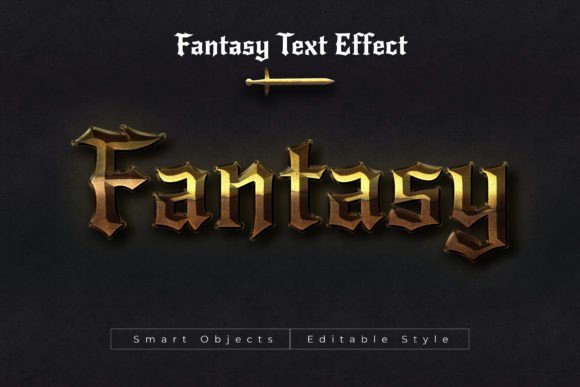
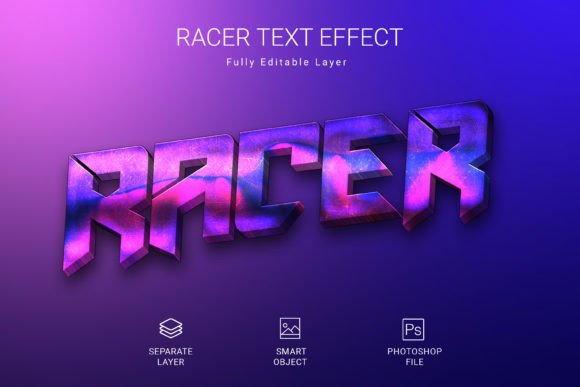
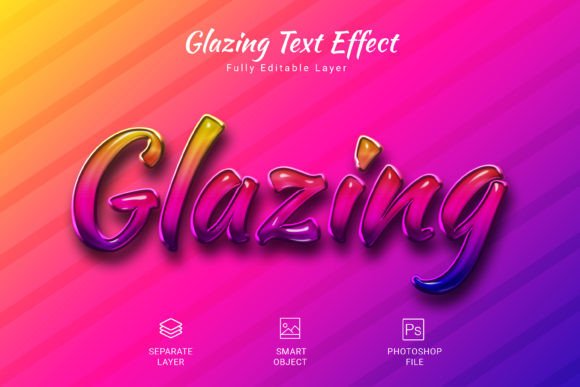
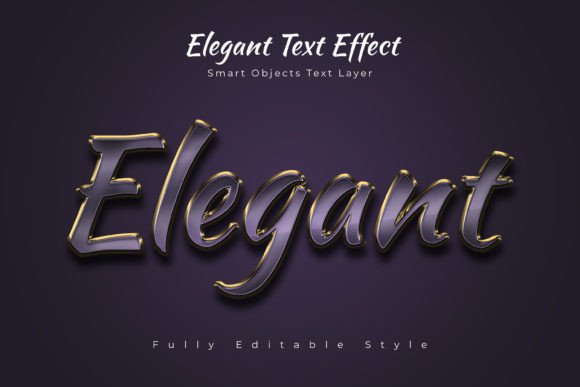
You have seen the previews—sleek, polished typography with metallic sheens, soft shadows, and refined gradients that make any word look like it belongs on a premium brand identity. The Elegant Psd Text Style Effect Mockup promises exactly that kind of transformation, and it delivers—provided you know how to use it properly. The problem is that many people download this file, open it once, and either give up in frustration or end up with results that look nothing like the demo. The fault is rarely with the mockup itself. It is almost always with how it is approached.
Let’s walk through the most common mistakes, misunderstandings, and overlooked details that hold people back. More importantly, let’s talk about what you can do differently so that your text, shapes, or vector logos look exactly as elegant as they should.
Mistake Number One: Jumping Straight into Editing Without Understanding Smart Objects
The Elegant Psd Text Style Effect Mockup is built around smart objects. That is its core mechanism. Yet so many users—especially those newer to Photoshop—treat it like a simple text layer and try to type directly onto the canvas. They double-click the text, change the wording, and wonder why the effect vanishes or looks distorted.
Here is what is actually happening: the PSD file contains a placeholder smart object. When you open it, you see a preview of the effect applied to sample text. If you try to edit that text in place, you are working on the surface layer, not the source. The effect is linked to the smart object’s content, not to the layer you see in the main view.
How to avoid this: Locate the smart object layer in the Layers panel—it is usually labeled clearly, often with an icon that shows a small preview thumbnail. Double-click that thumbnail. A new window will open containing the editable text or shape. Make your changes there, then save and close that window. The main file will update automatically with the effect applied cleanly. This takes ten seconds once you know the pattern, but it can save you twenty minutes of frustration.
Mistake Number Two: Ignoring the Resolution and Color Mode Settings
The Elegant Psd Text Style Effect Mockup comes in a 3000×2000 pixel PSD file at 300 DPI with RGB color mode. Those specifications are not arbitrary. They exist so that the text effect remains crisp whether you are using it for a social media graphic, a website header, or a print flyer. Yet many users open the file, resize it arbitrarily, or convert it to CMYK without checking how the effect responds.
Resizing the PSD downward is usually fine—you lose detail but the effect scales reasonably. Resizing upward, however, can introduce pixelation and soften the gradients and shadows that make the style elegant. Converting to CMYK before editing can also shift the colors dramatically because the mockup was designed for RGB screens.
A better approach: Keep the original file as your master. Work in RGB and at the native resolution for as long as possible. If you need a CMYK version for print, duplicate the finished file and convert the copy after all edits are done. Check your blacks and shadows carefully after conversion—they often need a slight adjustment to retain depth.
Mistake Number Three: Overlooking the Free Font Requirement
One of the best features of this mockup is that it uses a free font. That means you do not need to purchase an expensive typeface just to get the look you see in the preview. However, many people download the PSD, open it, and see that the text renders with a fallback font because the original is not installed on their system.
The result is disappointing. The elegant spacing and proportion you admired in the demo are gone, replaced by something generic. The effect layer is still there, but it no longer flatters the letterforms the same way.
What to do instead: Before you edit anything, look inside the download folder for a readme file or visit the product page to note the font name. Download and install that font on your system first. It takes two minutes. Once it is installed, close and reopen Photoshop so it recognizes the new typeface. When you open the PSD, the text will render exactly as intended. You can, of course, substitute a different font later if you prefer, but start with the recommended one to understand how the effect was designed to look.
Mistake Number Four: Treating the Mockup as a One-Click Solution
The Elegant Psd Text Style Effect Mockup is described as speedy and effortless, and it truly is—once you understand its logic. But some users interpret “effortless” to mean that they can open the file, type a word, and have a final logo ready to export. That misunderstanding leads to disappointment when the result feels impersonal or mismatched to their brand.
No mockup, no matter how well made, replaces the need for thoughtful design decisions. The effect gives you a high-quality foundation. You still need to choose the right word, adjust the spacing, pick colors that suit your identity, and consider how the text interacts with its background.
A more productive mindset: Think of this PSD as your starting point, not your finish line. Use the smart object to place your text, then experiment with layer styles, background colors, and placement. The 3000×2000 canvas gives you plenty of room to add supporting graphics or adjust composition. The elegance comes from the combination of the effect and your choices around it.
Mistake Number Five: Forgetting to Check the Layers for Hidden Adjustments
This is a subtle one that even experienced users miss. A well-made PSD effect often includes adjustment layers—curves, hue/saturation, gradient fills, or lighting effects—that sit above or below the main text layer. The Elegant Psd Text Style Effect Mockup is no exception. If you open the file and only look at the smart object, you might not realize that part of the polished look comes from these supporting layers.
When users accidentally move, hide, or delete these layers, the effect suddenly looks flat or washed out. They assume the mockup is flawed, when in reality they disabled the very elements that gave it depth.
How to stay safe: Before you make any changes, expand all layer groups in the Layers panel. Look for anything labeled “adjustment,” “lighting,” “shadow,” or “color correction.” Leave those layers intact unless you are confident about what you are changing. If you want to customize the color scheme, create a new adjustment layer above the group rather than modifying the existing ones. That way, you preserve the original effect while adding your own twist.
Mistake Number Six: Using the Mockup on Unsuitable Backgrounds
The effect is designed with a particular type of background in mind—usually a solid or subtly textured surface that lets the text stand out. When users place the mockup onto a busy, high-contrast, or dark background without adjusting the blending mode or shadow opacity, the elegant style gets lost.
For example, a gold foil effect that looks stunning on a dark gray background becomes illegible when placed over a photograph of a sunset. The issue is not the mockup; it is the lack of consideration for contrast and hierarchy.
A practical fix: Keep the background simple. Use neutral tones, soft gradients, or low-opacity textures behind the text. If you need to place the text over a complex image, add a subtle overlay or shadow behind the text to separate it from the background. The PSD file gives you the tools to do this—you just need to apply them.
Mistake Number Seven: Neglecting to Check the License and Usage Terms
You might not think about this until after you have used the mockup in a client project or a commercial product. But not all PSD mockups come with the same permissions. Some allow unlimited commercial use. Others restrict you to personal projects or require you to purchase an extended license if you plan to resell the output.
The Elegant Psd Text Style Effect Mockup is typically shared with clear terms, but it is your responsibility to read them. Overlooking this detail can lead to awkward conversations with clients or unexpected costs down the road.
A simple habit: Before you download or use any design resource, check the license file or the product description. Look for keywords like “commercial use,” “personal use only,” and “extended license.” If you are unsure, contact the creator. Most are happy to clarify. Knowing your rights upfront saves you from guesswork later.
Mistake Number Eight: Not Testing the Effect with Different Weights and Sizes
The preview text in the PSD is carefully chosen to display the effect at its best. It is usually a word with balanced letterforms and a size that fills the canvas comfortably. When users replace it with a very short word or a very long sentence, or when they use a font weight that is too thin or too bold, the effect can look unbalanced.
Thin fonts may lose the metallic sheen because there is not enough surface area to reflect the gradient. Extra bold fonts may cause the shadow effects to overlap and muddy the readability.
A better testing method: After you install the free font and open the smart object, try your text at the same size as the placeholder first. Then experiment with scaling up or down gradually. If the effect starts to degrade, adjust the font weight or track the letters (increase or decrease the spacing) to restore clarity. A 300 DPI file gives you plenty of resolution to play with, so use that to your advantage.
Mistake Number Nine: Saving Over the Original PSD File
It sounds obvious, but it happens all the time. You open the file, make your changes, and hit Save. Later, you want to reuse the mockup for a different project and find that the original placeholder text is gone, replaced by your last edit. You have effectively lost the template.
A simple workflow: Always use File > Save As to create a new version of the PSD for each project. Keep the original download folder untouched as your source of truth. This takes only a few seconds and ensures you can come back to the clean template whenever you need it. If you want to go a step further, keep the original file in a dedicated “Design Templates” folder so you never accidentally overwrite it.
Mistake Number Ten: Forgetting to Preview the Result on Different Devices
You have edited the smart object, saved your changes, and exported a beautiful PNG. It looks flawless on your monitor. But when you view it on a phone, the text might feel too small. On a tablet, the shadows might appear too heavy. On a projector, the contrast might drop out.
This is especially important for entrepreneurs, marketers, and small business owners who plan to use the mockup across multiple channels—social media, websites, printed materials, presentations. The elegance of the effect depends on context.
A practical tip: Export a test version and look at it on at least two different screens. Open it on your phone and your laptop side by side. If the text loses its impact at smaller sizes, consider simplifying the background or increasing the font size in the smart object. The 3000×2000 canvas gives you plenty of room for larger text without losing quality.
Putting It All Together
The Elegant Psd Text Style Effect Mockup is a genuinely useful tool. It offers a fast, accessible way to give your text a refined, polished appearance without starting from scratch. The PSD file is well-structured, the resolution is generous, and the use of a free font lowers the barrier to entry. But like any powerful resource, it rewards those who take the time to understand how it works.
Avoid the common pitfalls we have discussed. Open the smart object, not the text layer. Install the font beforehand. Keep the resolution and color mode intact. Preserve the adjustment layers. Choose backgrounds that complement the effect. Check the license. Test your output on real devices. And always save a fresh copy for each project.
When you follow these practices, the result is not just elegant—it is reliable. You get the high-quality style you saw in the preview, applied cleanly to your own text, shapes, or vector logos. And that is exactly what a good mockup should deliver: speed, ease, and quality, without the guesswork.
If you have not tried this approach yet, open the file and walk through it step by step. You will quickly see why smart objects and thoughtful layer organization make all the difference. And once you have that first successful project under your belt, you will wonder why you ever struggled with text effects in the first place.